Compatibility:
WebSite X5 Evo and Pro
Managing bookings by phone or email can be time-consuming: you need to check availability, reply to requests, and keep your calendar constantly up to date.
Bookeo is an online service that lets you organize and accept bookings for appointments, classes, courses, tours, and other activities. Thanks to the Bookeo Optional Object, you can integrate the booking system directly into a page of your WebSite X5 website, allowing customers to check availability and book online.
See an example of what you can create on the Live Preview page.
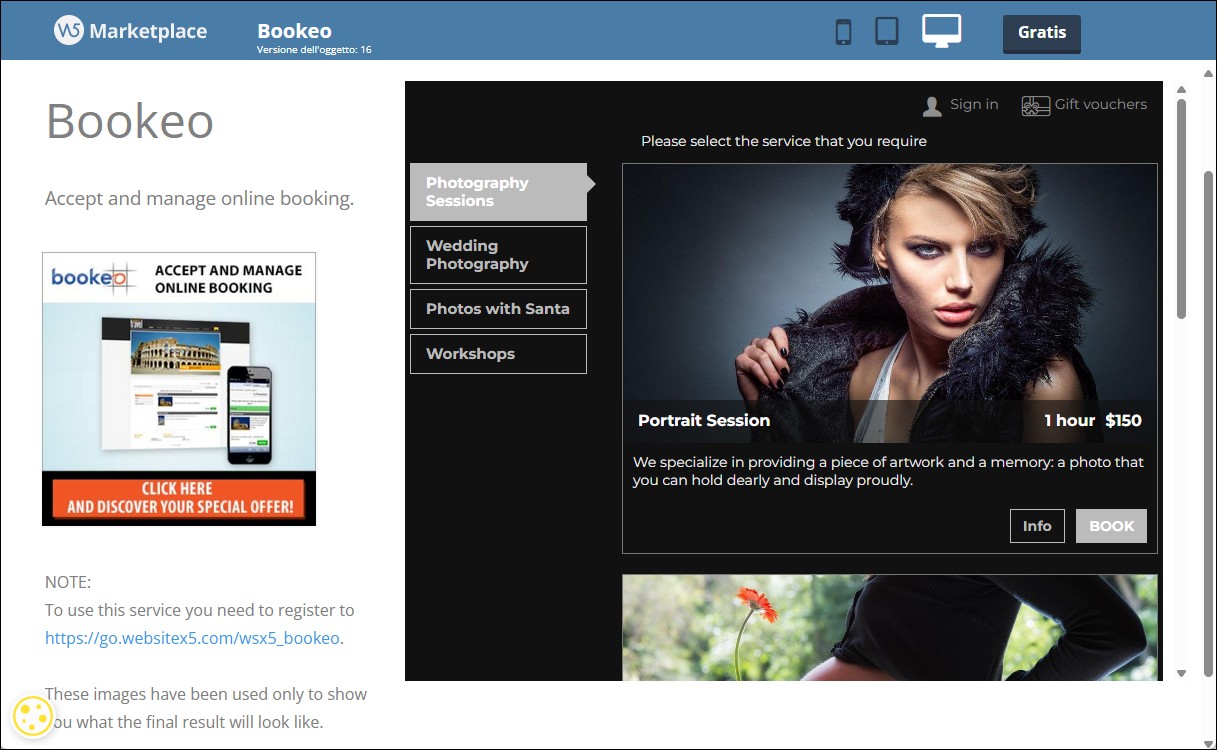
To integrate Bookeo into your website, you need to obtain the HTML code provided by the service, paste it into the Bookeo Object, publish the page, and then inform Bookeo of the page URL.
Before you start
To follow this guide, you will need:
- a Bookeo account with your bookable services or activities already configured;
- the Bookeo Optional Object installed in WebSite X5;
- a website page dedicated to bookings;
- the ability to publish your website online.
The Bookeo Object is used to integrate the booking system into your website. The configuration of services, availability, prices, and all other settings must be completed directly in your Bookeo account.
3 free months for WebSite X5 users

A special promotion is available for WebSite X5 users: by entering your WebSite X5 License Key on Bookeo's promotional page, you can receive the first 3 months of the service free of charge.
How to obtain the HTML code from Bookeo
The first step is to configure the integration in your Bookeo account and copy the code to be inserted into your website.
- Sign in to your Bookeo account.
- Open Settings > Theme and Layout > Website integration.
- From the Page location menu, select Embed a widget in my web site.
- In the Optionssection, choose how you want the booking system to behave:
- under Second screen, choose whether the following screens should remain embedded in the page or open in full screen;
- under Mobile, choose whether the booking system should remain embedded in the page on mobile devices or be displayed in full screen.
- In the Widget section, locate the code provided in step 1.
- Select and copy the entire code.
Do not close the Bookeo configuration page yet: you will need to return to it after publishing your website.
How to insert Bookeo into WebSite X5
Once you have copied the HTML code, you can add it to the page dedicated to bookings.
- Open your project in WebSite X5.
- If you haven't already done so, go to Step 3 - Sitemap and create a page, for example called "Bookings".
- Go to Step 4 - Pages and open the page you have just created.
- Drag the Bookeo Object into the page layout grid.
- Double-click the Object to open its settings window.
- Paste the HTML code copied from Bookeo into the appropriate field.
- Choose whether to keep a fixed height for the Object.
- Click OK to confirm.
When to keep a fixed height
During the booking process, the content displayed by Bookeo may change depending on the current step.
Leave the fixed height option disabled if you want the booking area to resize automatically as users move through the different steps.
Enable the option if you want the space reserved for the Object to remain constant. In this case, after publishing your website, test every step of the booking process to make sure all content is fully visible.
How to publish the page and complete the integration
Bookeo needs to know the address of the page where you inserted its code. Therefore, you must publish your website before completing the configuration.
- Go to Step 5 - Export.
- Publish your website online.
- Open the page containing the Bookeo Object in your browser.
- Copy the page's full URL from the browser's address bar.
- Return to your Bookeo account and, if necessary, open Settings > Theme and Layout > Website integration again.
- In the Widget section, paste the URL of the published page into step 2.
- Click Test booking to verify the integration.
- If the booking system works correctly, click OK to save the settings.
Bookeo uses the URL you provide as the default page for the booking system embedded in your website.
How to test the booking system
Before making the page available to your customers, perform a test booking.
In particular, make sure that:
- the booking system loads correctly;
- the desired service or activity can be selected;
- available dates and time slots are displayed;
- all booking steps can be completed successfully;
- no content is cut off;
- the page works correctly on both desktop and mobile devices;
- the optional fixed height is sufficient for every screen.
If you change the code or the settings of the Bookeo Object, publish the website again and repeat the test.
What to do if Bookeo does not accept the page URL
When you save the page URL, Bookeo checks that the page is accessible and contains the booking system code.
If Bookeo does not accept the URL:
- make sure the website has been published;
- check that the URL you entered is complete and correct;
- ensure that the page is publicly accessible and not password protected;
- verify that you pasted the entire HTML code into the Bookeo Object;
- publish the page again so that the latest version is available online;
- reopen the page in your browser and run the test again.
If Bookeo cannot access the page or cannot find its code, it may prevent the integration from being saved.
Can't wait to use it on your website? Install the Bookeo Object now: it's free.