Compatibility:
WebSite X5 Evo and Pro
Collecting registrations for an event, finding out what customers think, or offering a short quiz can be very useful, but creating a system to manage questions and answers from scratch takes time.
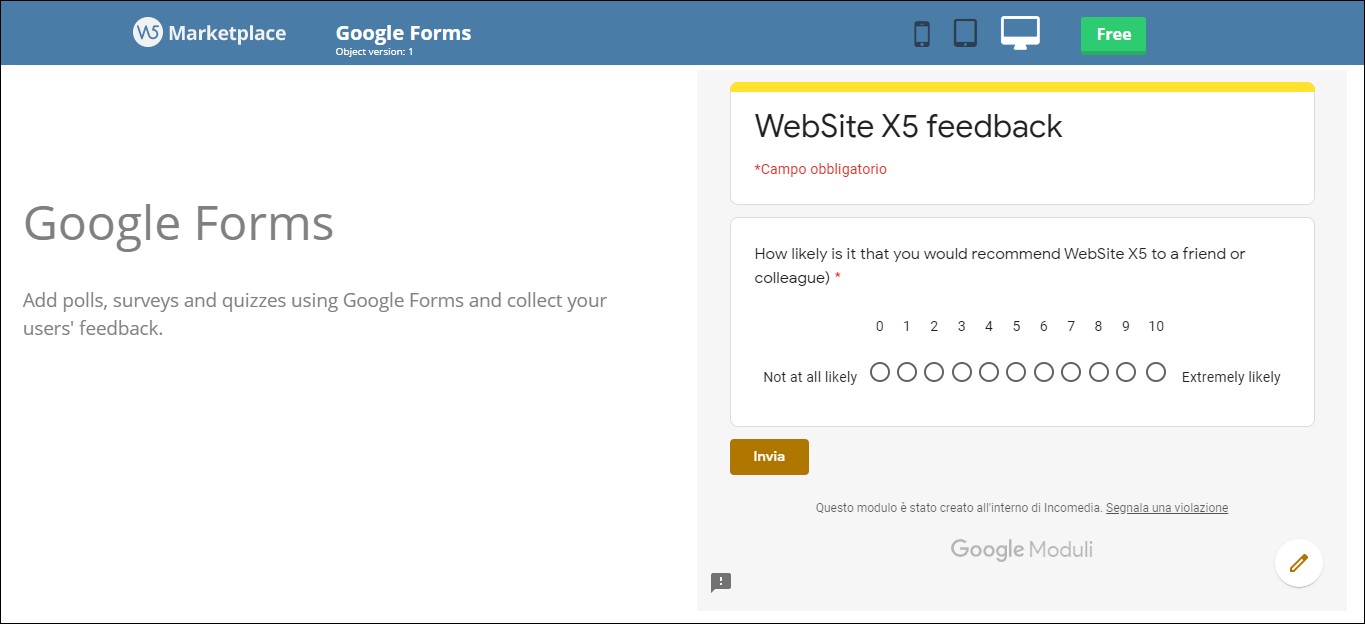
Google Forms lets you easily create online forms, questionnaires, surveys, and quizzes, collect responses, and organize them in a spreadsheet. With the Google Forms Object, you can insert the form directly into the pages of your WebSite X5 website, so visitors can fill it in without leaving the site. You can find some examples on the Preview page.
In short
To add a Google Forms form to your website, you need to:
- Create and configure the form with Google Forms
- Save and review the responses
- Publish the form and grant access to the people who need to fill it in
- Paste the link for filling in the form into the WebSite X5 Google Forms Object
- Check the result in Preview
Let’s look at each step in detail.
How to create a form with Google Forms
If you already use other Google tools, creating a form will be quite straightforward. You can start from a ready-made template or create a blank form and customize it to suit your needs.
1. Create a new form
- Go to forms.google.com and sign in with your Google Account.
- Click Blank form to start from scratch or choose one of the templates available in the gallery.
- Enter a name for the form.
- Click the title and description on the page to replace them with your own content.
The forms you create are automatically saved to Google Drive.
2. Customize the form appearance
You can adapt the appearance of the form to match the style of your website:
- Click the Customize theme button at the top of the window.
- Choose a header image.
- Set the theme and background colors.
- Choose the font to use.
Try to keep the colors, images, and overall style consistent with the website where you will embed the form. This will make the transition between the page and the questionnaire feel more natural for visitors.
3. Add your questions
Now create your first question:
- Click the question text to edit it.
- Use the menu to the right of the title to choose the question type.
- Enter the answers or any other required settings.
- Enable the Required option if users must answer the question.
Google Forms provides several question types, including:
- short answer;
- paragraph;
- multiple choice;
- checkboxes;
- drop-down;
- file upload;
- linear scale;
- grid;
- date and time.
To add another question, click the Add question button in the side panel.
You can also duplicate an existing question, delete it, or change the order of the questions by dragging them into the desired position.
4. Add images, videos, and sections
You can also use the side panel to add:
- a title and description;
- an image;
- a video;
- a new section;
- questions imported from another form.
Sections are especially useful when your questionnaire contains many questions, as they divide it into shorter, easier-to-complete steps.
How to save and review responses
Responses can be viewed directly in Google Forms or automatically saved in a spreadsheet.
1. Connect the form to Google Sheets
To save responses in a spreadsheet:
- Open the Responses section.
- Select the Summary tab.
- At the top right, click More.
- Select Select destination for responses.
- Choose whether to create a new spreadsheet or use an existing one.
- Click Create or Select.
New responses will automatically be organized in a Google Sheets table.
2. Check the form settings
Before publishing the form, open the Settings section and check the available options.
In particular, you can decide whether to:
- collect e-mail addresses;
- send respondents a copy of their responses;
- allow responses to be edited after submission;
- limit each user to one response;
- show a progress bar;
- edit the confirmation message displayed after submission.
#tip - If you enable the 'Limit to 1 response' option, anyone filling in the form will need to sign in to a Google Account. To allow anonymous responses, do not enable this option and do not require e-mail addresses to be collected.
In the presentation section, you can also consider the Disable autosave for all respondents option. Google indicates that this setting may be useful, among other cases, for forms embedded in websites.
How to publish the form
Once the form is complete, you need to publish it before you can add it to your website. An unpublished form cannot be opened by the people who need to fill it in, even if they have the link.
To publish it:
- Click Publish in the top-right corner.
- Click Manage to define who can respond.
- In the General access section, select Anyone with the link if all website visitors should be able to fill in the form.
- Click Done.
- Confirm by clicking Publish.
Once the operation is complete, the Published button will appear in the top-right corner.
How to add the form to WebSite X5
Now that the questionnaire, survey, or quiz is ready and published, you can add it to a page on your website.
1. Copy the link for filling in the form
- Open the form in Google Forms.
- In the top-right corner, click Published.
- Select Copy responder link.
- If you want a shorter address, enable the Shorten URL option.
- Click Copy.
You can also get the same link using the Share or Preview commands.
#tip - Google Forms also provides the 'More > Embed HTML' command, which generates iframe code. You do not need to copy this code to use the WebSite X5 Google Forms Object: you need to use the standard responder link.
2. Add the Google Forms Object
- Open your website project in WebSite X5.
- Go to Step 4 - Pages.
- Open the page where you want to add the form.
- Add the Google Forms Optional Object to the Page Layout grid.
- Double-click the Object to open the settings window.
- Click the Google Form Link field.
- Press CTRL+V to paste the link you copied.
- Set suitable values for the Width and Height.
- Click OK to confirm.
3. Check the result
Click the WebSite X5 Preview button and check that:
- the form loads correctly;
- all questions are visible;
- the button for submitting responses is accessible;
- there are no unnecessary internal scrollbars;
- the form is easy to complete on smartphones and tablets as well.
If the form is cut off or displays an excessively long scrollbar, return to the Object settings and increase the Height value.
How to check that the form is accessible to everyone
Before publishing the website online, it is advisable to carry out one final check:
- Copy the link for filling in the form.
- Open an incognito or private browsing window.
- Paste the link into the address bar.
- Check that the form can be opened without requiring authorization.
- Submit a test response.
- Check that the response appears in the Responses section of Google Forms and, if applicable, in the linked spreadsheet.
If authorization is required, return to the form publishing settings and check that General access is set to Anyone with the link.
With some work or school accounts, access options may be restricted by the organization administrator.
Tips for creating an effective form
To make the questionnaire easier to complete:
- use short, clear titles and questions;
- clearly indicate what information you are asking for;
- make only the questions that are truly necessary required;
- divide longer forms into sections;
- avoid adding too many questions to the same screen;
- customize the confirmation message displayed after submission;
- always test the form before making it available to visitors.
#tip - For a complete overview of the available features, see the official guide on how to use Google Forms.
The form is ready: you can start collecting registrations, responses, and feedback directly from the pages of your website.
Eager to use it on your website pages? Install the Google Forms Object now: it’s free